Photobucket had recently changed their policy and now all the images from my 650+ blog posts are disabled. I am slowly editing them by moving my images to my own server at AWS, but it will take time. In case there is a particular old post you want to see the images of, kindly drop me a mail at mizohican@gmail.com and I'll keep that at a high priority. Thank you.

Monday, June 24, 2019

Chp 763. Dinner by Marka


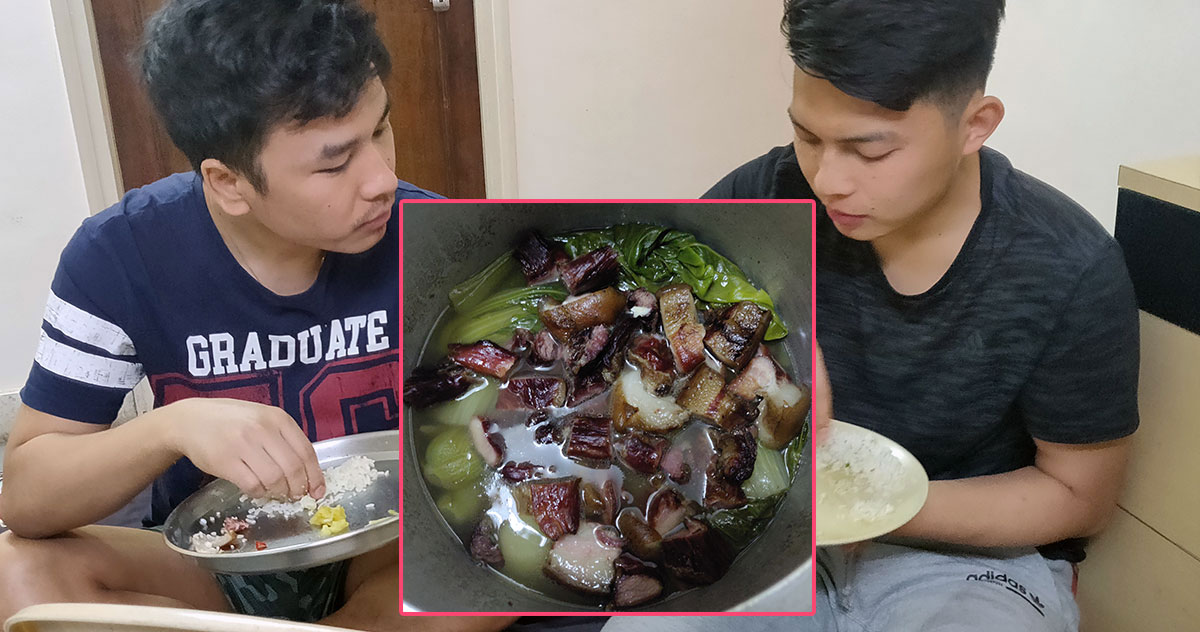
Continuing with my Foodie blog updates, here are some recipes by my friend Marka. He lives in KP not very far from my apartment, and he invited me to his house for dinner one fine night. We had Mizo boiled pork and Mizo bai that night, yummm.


Here are the recipes…


Boiled Mizo Pork


We all have our own method of cooking boiled pork. I will blog about how I cook mine later, Marka's method is a bit different from mine and here is a step by step instruction on how he made his version of Mizo boiled pork.

Ingredients: Raw Pork and Pok Choi.

1. Wash the pork as it is without cutting it into pieces.

2. Pour around 4-5 cups of water inside a pressure cooker.

4. Cook the pork in the pressure cooker for 15-20 minutes (let it whistle around 2-3 times).

3. Wait for the cooker to cool down and take the pork out.

4. Chop the cooked pork into medium pieces.

5. Using the same water, boil pok choi.

6. After around 10 minutes, add the chopped pork pieces in the cooker again and then cook for 5 minutes until it whistles twice. Done.

And yes, Marka's version of Mizo boiled pork was really good!


Mizo Bai


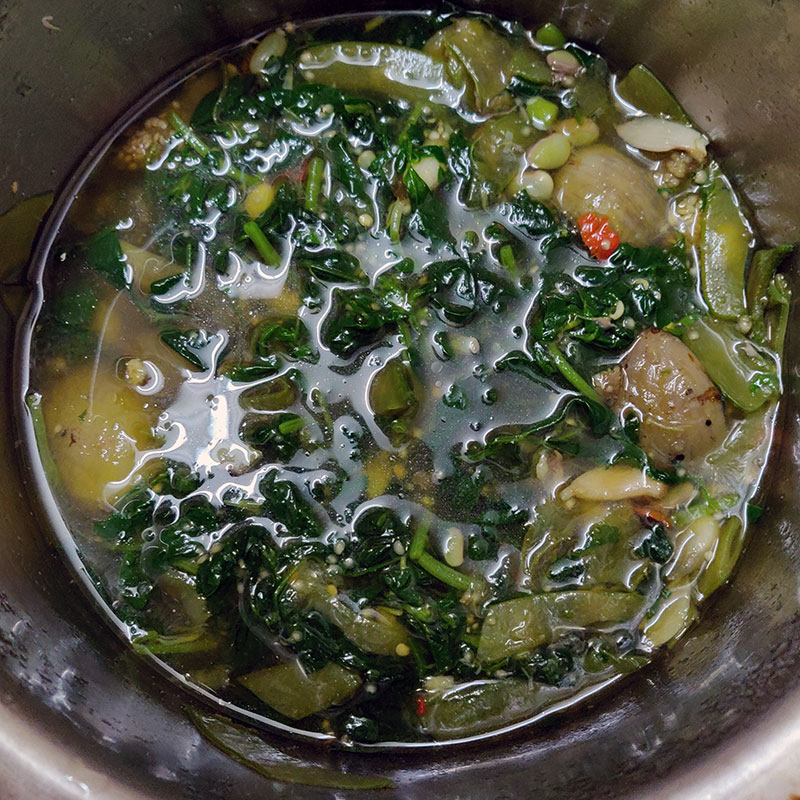
This one is very simple and easy to make, and yet no Mizo cuisine is complete without it.

1. Take all the ingredients like Brinjals, Bepui (Lablab bean / Hyacinth bean) and beans, and cut them into small pieces.

2. Boil all of them in water along with some chillies.

3. Just before it is boiled, add chopped Methi (Fenugreek) into the mixture along with a pinch of soda.

4. The Bai is ready :)

Simple yet sooo good!


Fried Potatoes and ground chillies


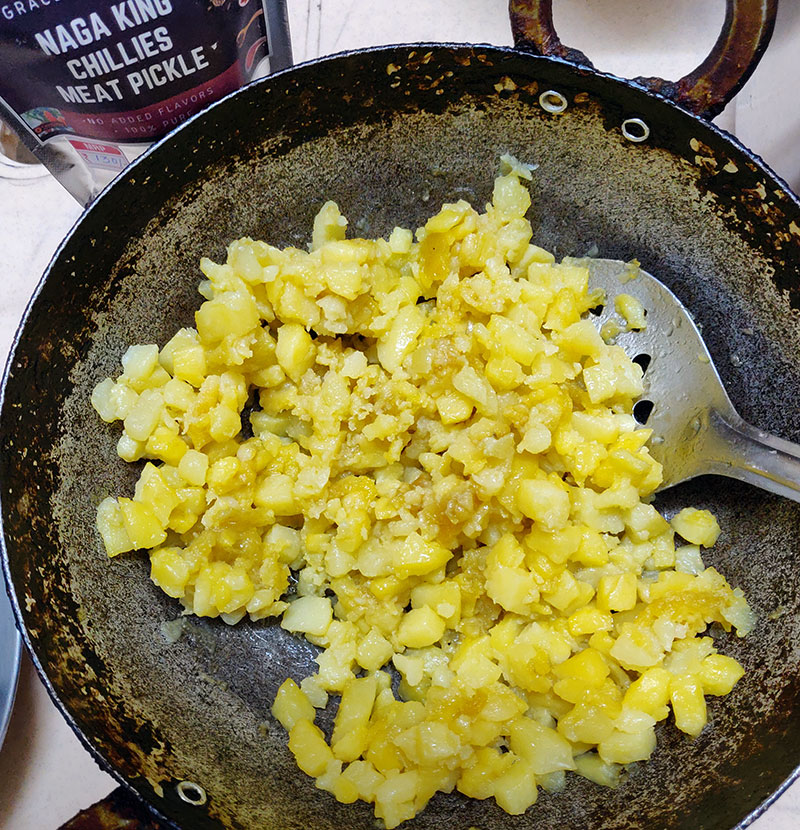
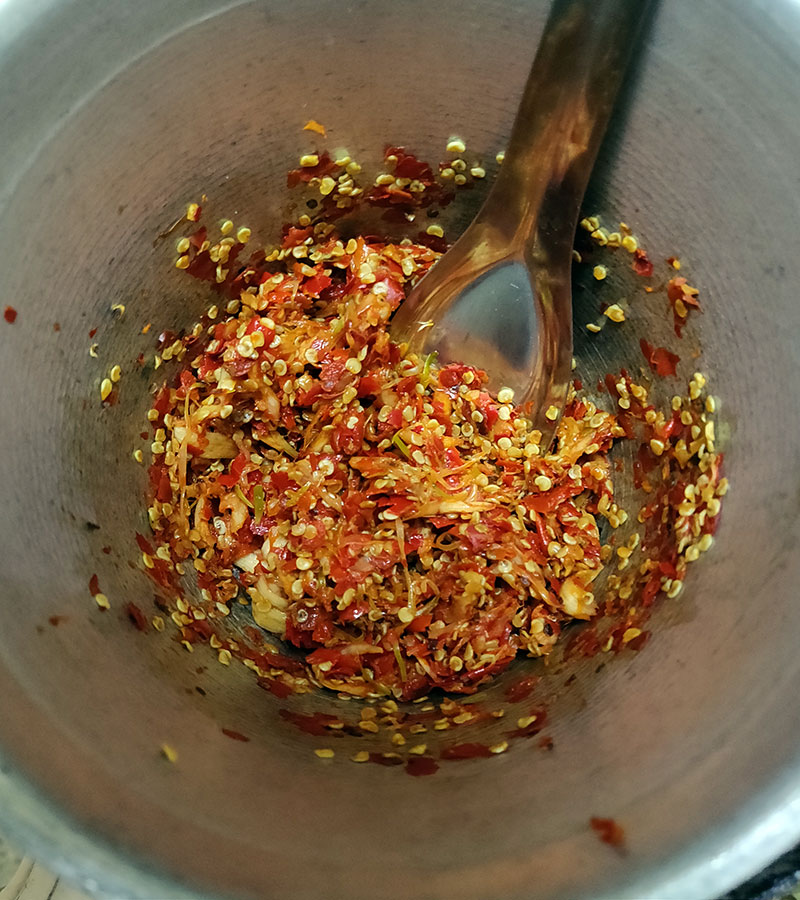
I don't think I really need to explain how to make the above two dishes :D As Abraham Lincoln once said, "If you don't know how to make fried potatoes or grind Mizo chillies, then you really don't deserve to eat".

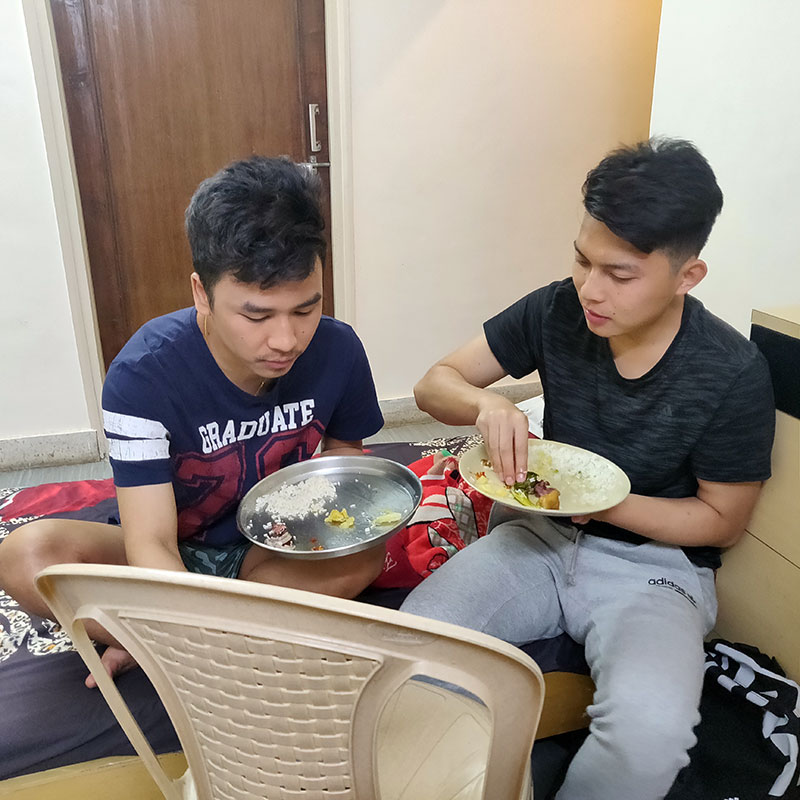
Here's my plate that night!


As you can see from my plate above, the fat pieces are the best part of a Mizo boiled pork cuisine. Like I have mentioned earlier, there are many methods of making it, but the fatty part is a compulsory ingredient. And that is a problem I have seen at many restaurants outside Mizoram like Mumbai and Pune where you hardly get any fat, it's all just mostly meat meat meat sans the fat. Sad.

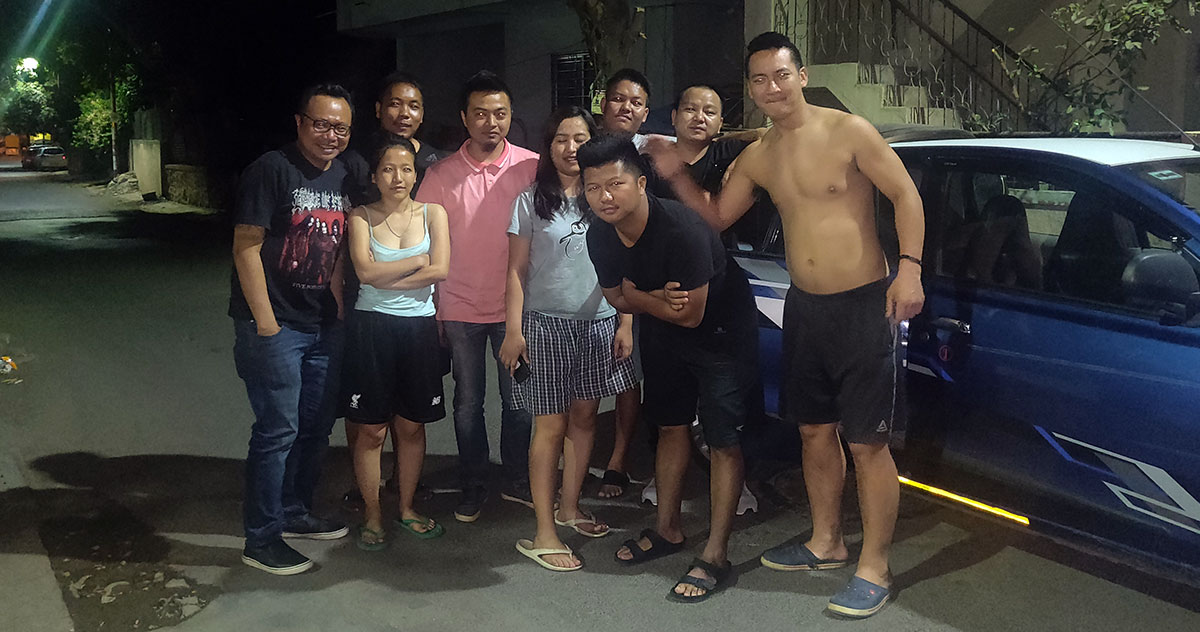
Everybody else enjoyed the dinner that night.


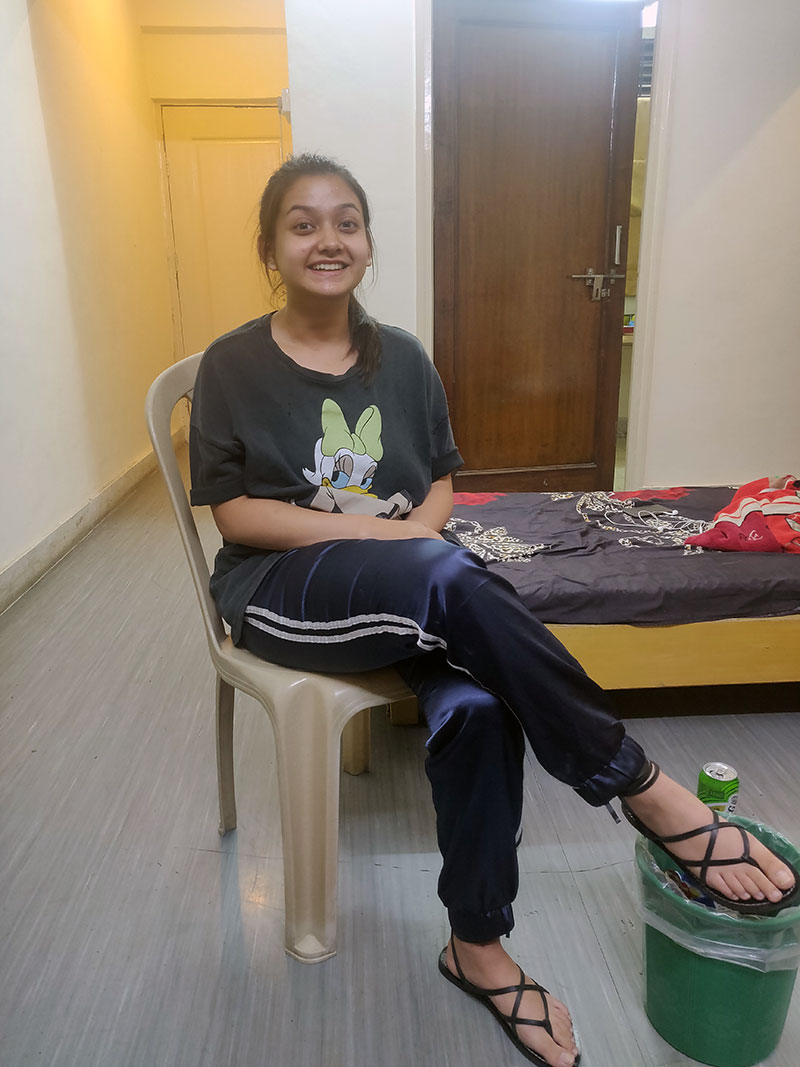
Tuli's sister who was visiting from out of town, who is a xerox copy of her, not just in looks but the same irritating trait as well :D


And so that was it. Great dinner by Marka, thanks once again, and hope you find his cooking method useful. See you all in my next foodie blog update everyone. Cheers.


Wednesday, June 19, 2019

Chp 762. Dinner by Christina


Continuing with my Foodie blog updates, here is a simple home-made Chicken Biryani that you can also cook at home, courtesy my dear friend Christina.

It was my friend Sanga's last day in Pune. And so Christina made him a farewell Biryani dinner before he left for the airport.


Why Biryani? Because, apparently, that is a romantic thing to do these days. Like, Sanga once said, "Beauty lies in the eyes of the Biryani holder", and Christina replied, "I'm just a girl, standing in front of a boy, asking him to love Biryani."

Anyhoo, I left work early that day and went straight to Christina's house. Sun was about to set in the distant Pune horizon.


By the time I reached her place, Christina had already prepared the Chicken base, so I don't have any photos of the preparation, but here is an easy step by step method on how to make the Chicken base, as described by Christina to me.

1. Take the raw chicken and wash it.

2. Cut it into small pieces (if not cut already).

3. Optionally, you can remove the bones.

4. Add salt, turmeric powder and Kashmiri powder to the raw Chicken (Christina used Kashmiri powder instead of Meat masala because the latter gives it a very rich Indian masala taste and smell that she doesn't like).

5. Grind ginger and garlic to paste.

6. Add Long (Cloves), Elaichi (Cardamom) and Thakthing (Cinnamon) to the paste.

7. Apply the paste mixture to the Chicken.

8. Finally add Dahi (Curd) to the entire Chicken. Let it marinate for 2 hours.

9. Heat oil in a frying pan and add finely chopped onions once heated.

10. Add the marinated Chicken. Let it cook like that while occasionally stirring it.

Once cooked, the Chicken base for the Biryani is ready!


Meanwhile, cook the rice separately.

Christina added Milk with the water to cook the rice, along with 5 tbsp butter and 1 tbsp salt to give it a really good aroma and buttery taste. And finally before closing the lid, she placed one Cardamom on top and then cooked the rice (in Mizo we call this "Chaw elaichi chhipchhuan" :P )


Once the Chicken base and Rice were ready, it was finally time to make the Chicken Biryani. Now here is something new that I learnt from Christina that night.

If you are going to use a normal cooking pot that is thin layered, ALWAYS apply salt at the bottom and then cover the entire vessel with foil.


Why? Because apparently Biryani must be cooked at low flame for a very long time, so if this is not done, the entire bottom of the pot gets black and deep fried!

Once the cooking vessel is properly covered with foil, add the prepared Chicken base at the bottom.


Fill it to around half the vessel, and then add the cooked rice on top of it.


Thadaaa, your Chicken Biryani is ready to be cooked. Also cover the lid properly with foil again.


Similarly, take the remaining Chicken base, and if you have a cooking pan with thick exteriors, then there is no need to put salt at the bottom and cover with foil, you can add the remaining rice directly on top and cook it just like that.


And so that is how you make a delicious home-cooked Chicken Biryani.

Once we were done enjoying the delicious cuisine, Christina packed some Biryani as tiffin for Sanga to eat on his long flight back to Kolkata.


And then yeah, we all saw him off as his Uber came to pick him up.


Farewell my brother.

So that was it. A really good and easy to make Chicken Biryani. Are you planning to make it this way? Do let me know in the comments on Facebook.

Until then, cheers for now everyone. More food posts coming up soon.